Disclaimer: The solutions provided by Candera are demo samples and are intended as showcase for potential projects with Candera CGI Studio CE. The solutions have been tested in our own development and test setup with Raspberry Pi 4 and may require adaptions to properly work in your own environment.
 The idea
When we thought about applications with a lot of HMI focus and real-life use case smart locker systems came to our minds very quickly. Since this type of lockers are getting more and more common in public institutions (e.g. museums) we decided to create our own solution including a full sample hardware setup.
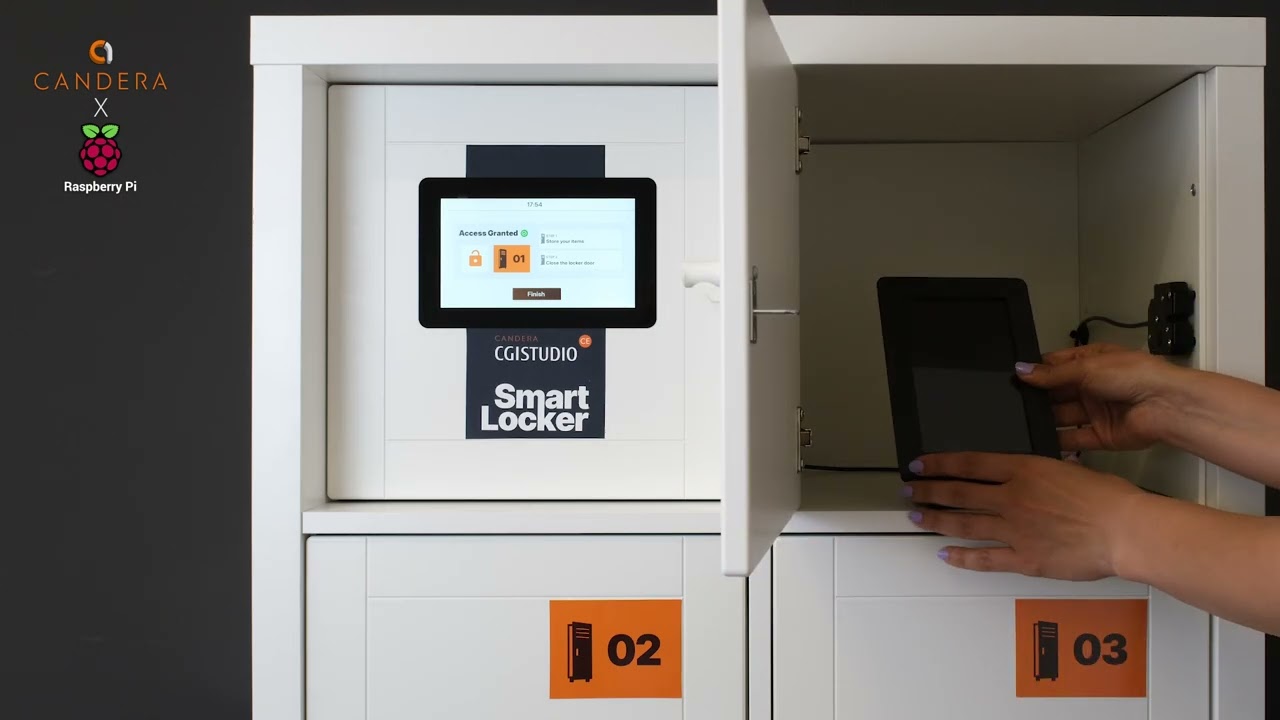
The principle is easy: the users can select one of the available lockers, set and confirm a 4-digit passcode and store their items. When wanting to retrieve the items, the users just select their locker, put in the passcode and open the locker accordingly.
You can find the solution in our Downloads section.
 The setup
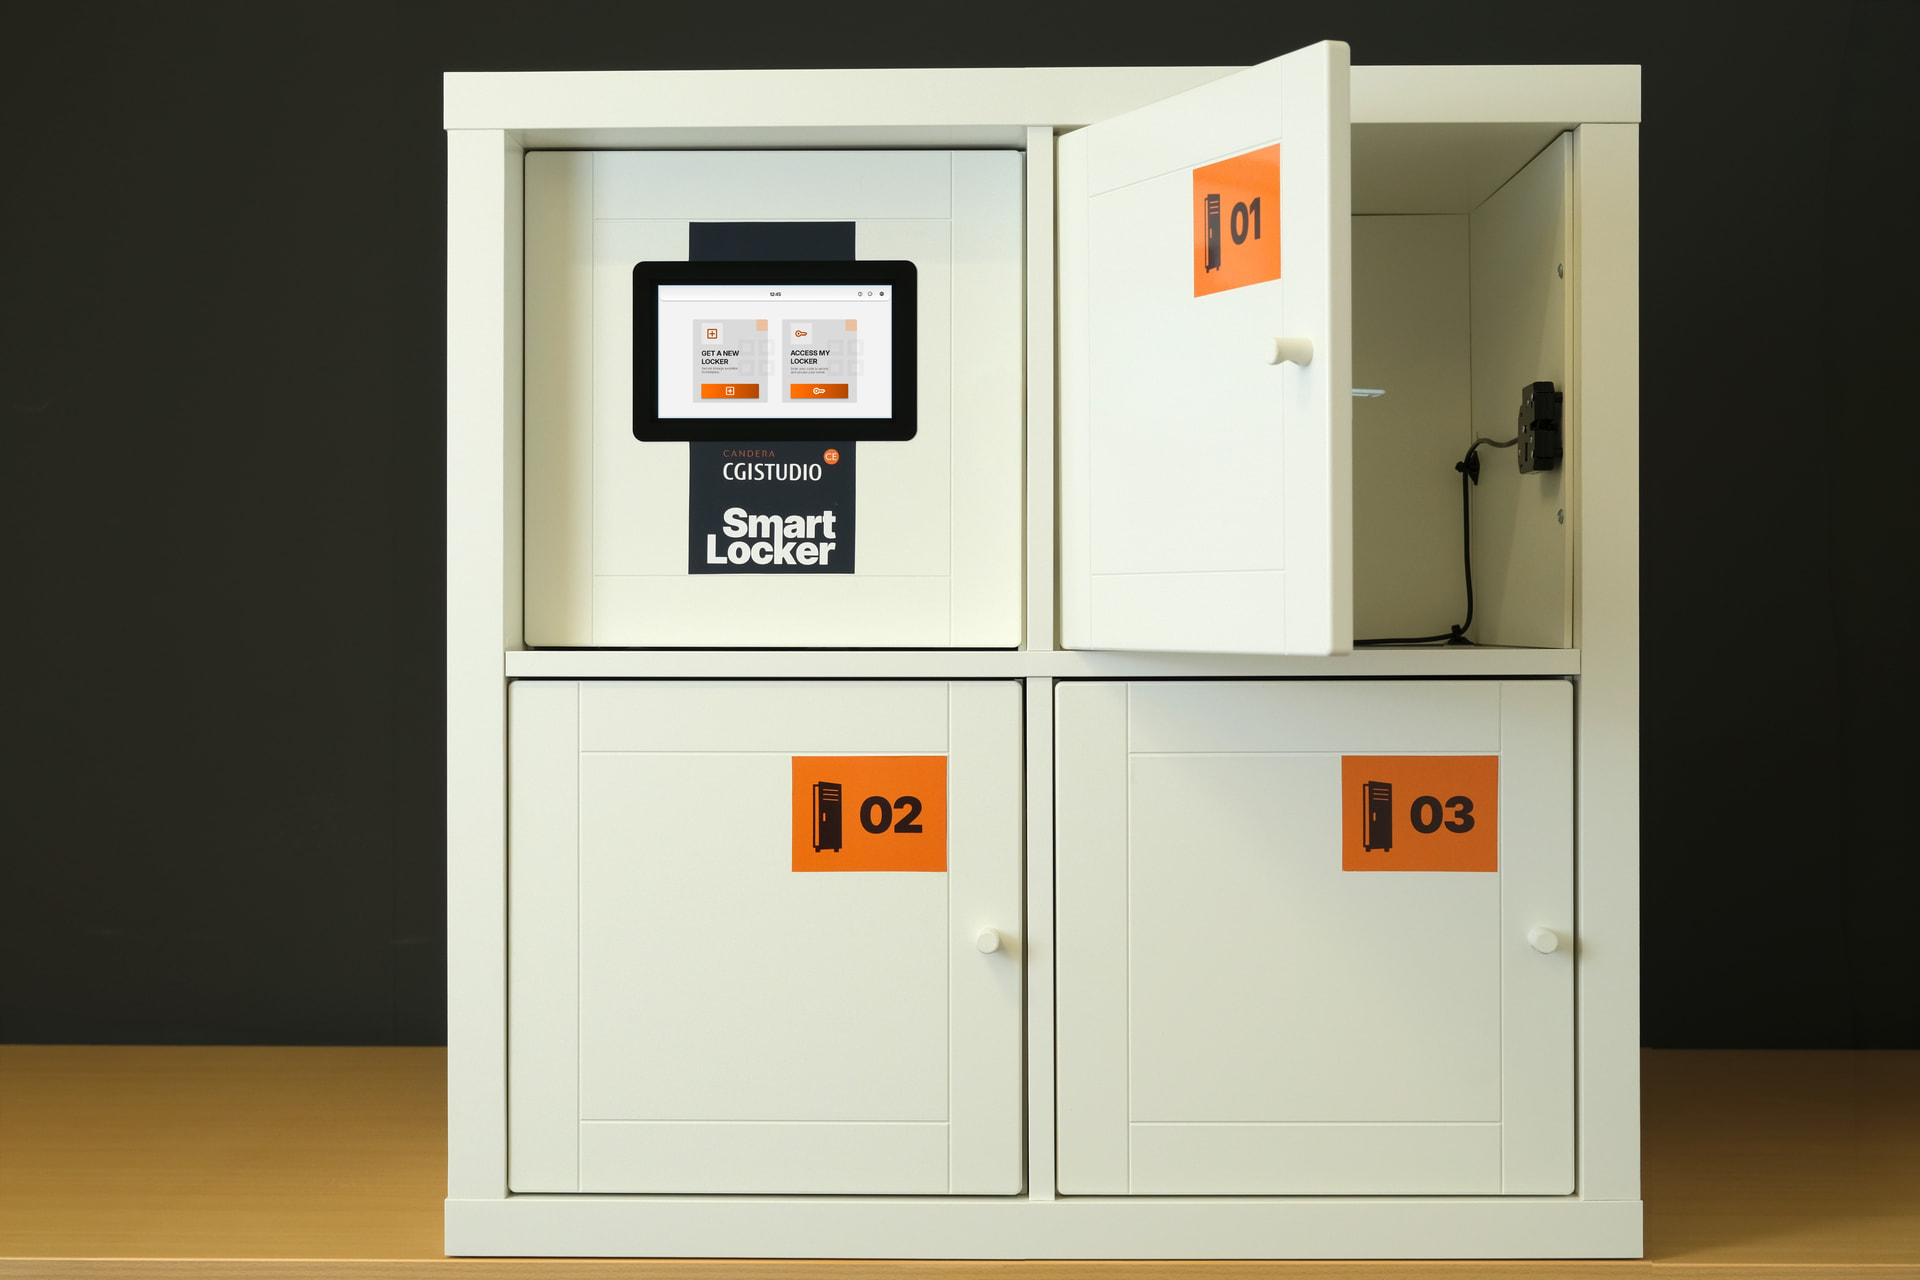
We wanted to create a setup that utilizes Raspberry Pi’s GPIO interfaces and therefore went for electro-mechanic locks. The “locker” is based on a standard IKEA Kallax (2x2) shelving unit, where the top left spot was used to install our screen and the remaining 3 spots act as our locker.
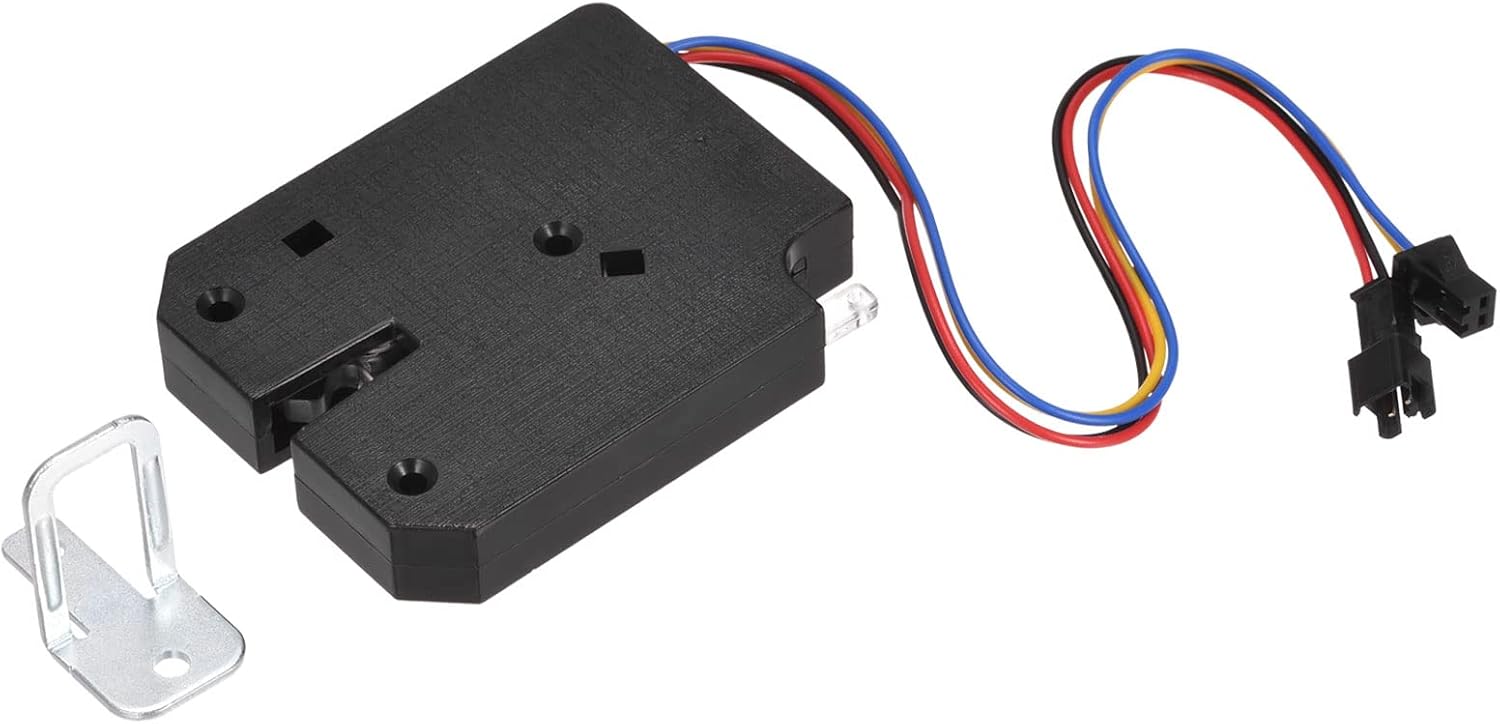
For the locks we went for electronic locks with built-in sensors to identify if the locks are engaged or not (similar to the one as shown below).
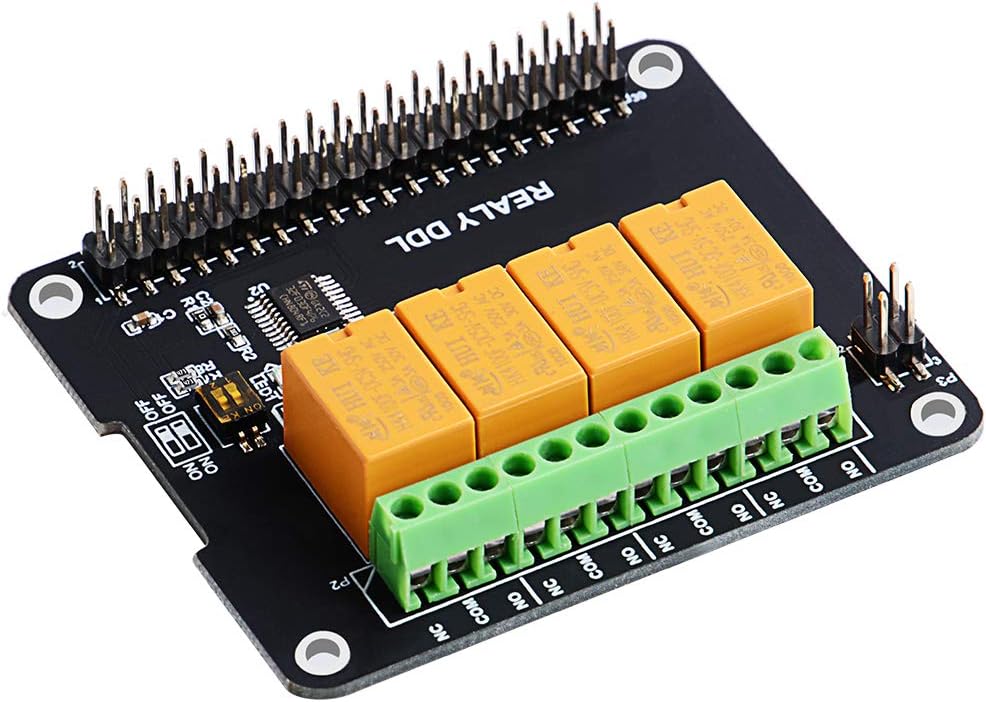
To be able to use these locks with our Raspberry Pi 4, we also required a relais. For this, we purchased an expansion board to directly mount on the RPi (similar to the one shown below).
Having put all of it together we get a fully functional demo Smart Locker.
 Required skills: Beginner
Deploying the solution on hardware and integrating it will require some basic skillset. The step-by-step guide can be found in the README.md file that is part of the download package.
In case you have questions or find yourself not managing the setup, please let us know and we will support you.
 The demo